ADVERTISEMENTS
Micromax YU Yureka is already released in india and most of the users are looking for the way to unlock the bootloader and Install CWM recovery. To get the root access on the YU Yureka you need to unlock the bootloader and install recovery first. Here in this guide we’ll show you how you can do this in easier way. All you need a Windows PC and USB cable to get started. Al credit goes to the XDA member vishal_android freak, who comes with this guide and managed to create a custom version of ClockworkMod recovery and root the device. If you are the Micromax YU Yureka users and want to do the same on your phone, read all the instruction very carefully and follow all the steps one by one on your device.
Note - This will wipe all your data and Format Internal memory ! So keep a backup !
Unlock Bootloader and Instal CWM
Step 1. Download the file
ADB _Fastboot.zip and extract it to a folder on your desktop. Switch off your Micromax Yureka Android smartphone.
Step 2. Now connect your to the PC with USB cable and the LED near the speaker at the top goes red.
Step 3. As soon as the LED glows keep the vol up button pressed. You will see the fastboot screen.
Step 4. At this time open the command prompt windows on your ADB Fastboot folder. Hold Shift button and right click on the empty space of the folder and select “Open Command prompt window here”.
Step 5. Now in the command prompt window type the following command.
fastboot -i 0x1ebf oem unlock
This may delete all your data including the internal memory. Your bootloader is now unlocked.
Step 7. Now type this on your command window:-
fastboot -i 0x1ebf flash recovery recovery-yu.img
You have successfully Install cwm recovery now ! Just press Volume up + Volume down + Power button to access CWM mode !
AFTER
HOW TO ROOT
Home »
Android »
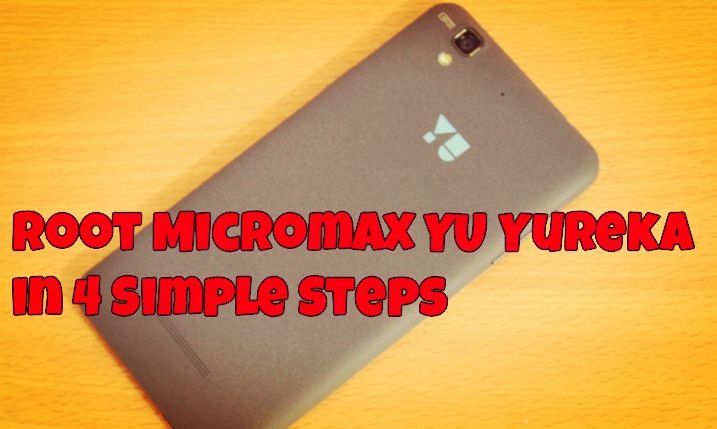
Root Micromax YU Yureka in 4 Simple Steps
Root Micromax YU Yureka in 4 Simple Steps
ADVERTISEMENTS
Newly launched Micromax YU Yureka comes with the CyanogenMod and now available in the Indian market. And most of the users already bought the device and looking for the guide to root the device. Rooting has lots of benefits, you can install lots of custom ROM on yopur phone, install rooted apps and apply lots of other mods on your phone. Rooting unlocks the Smartphone fully,Also In Micromax Yureka , your Warranty will not get void by Rooting . So you need not to worry about losing the warranty of your device. To get the root access on your phoe first you have to unlock the bootlader, install CWM recovery and after that flash the SuperSu zip file. We’ll show you how you can do this eaily on your new smartphpne.
Read all the instruction very carefully and do take the full backup of you phone and save it in some safe place.
Root Micromax YU Yureka
After that follow all the below mention steps.
Step 2. Once the SuperSu zip file is moved on your phone. Switch off you phone and boot in CWM recovery mode. TO do this press volume up + volume down + power button .
Step 3. Now your phone will boot on Recovery mode, for the main screen of the recover main menu Select Install zip from Sd card and Select Superuser.zip file that you copied on your phone Sd card.
Step 4. Once the files is installed, Reboot your Device.
Now your have to rooted Micromax YU Yureka. Enjoy !